In our persistent pursuit to save money and cut unnecessary expenses wherever possible, few areas have net us both extreme success and failure quite like car maintenance. While Neil’s skills in the garage have enabled us to do roughly 98% of our own maintenance (saving hundreds of dollars in labor + equipment), his auto racing hobby definitely tests how well we can stretch our dollar. This weekend was a juxtaposition of just that, as preparations for racing season are officially underway.
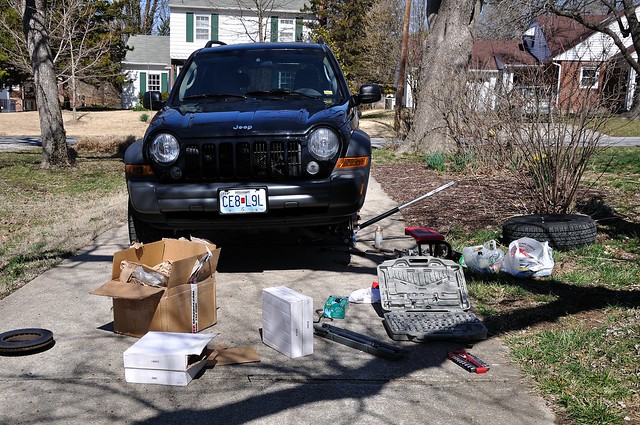
On Saturday, we spent the afternoon changing the brakes on the Jeep so it can take on a new role — to pull the Z, which is no longer safe for the streets.
If you’re new to the blog, Neil’s Z has undergone a major transformation over the past two years. What started as a nice car to enjoy weekend cruises in is now a gutted track-only racer, with some medieval looking hardware. His full series on its transformation can be found here.
Although do-it-yourself car maintenance can save you money ($150-200 for the average four-wheel brake job), it’s definitely time intensive, and not something you want to undertake without research and knowledge of the various areas and parts you’ll be working with. Because each vehicle is different, it can be difficult to predict exactly what tools you will need. Here is a list of general tools to have in any garage:
Tools:
- Complete socket set with 3/8 and 1/2 inch drives
- 3/8 or 1/2 inch breaker bar
- Rubber mallet
- Hammer
- Phillips and Flathead screw drivers (sizes may vary)
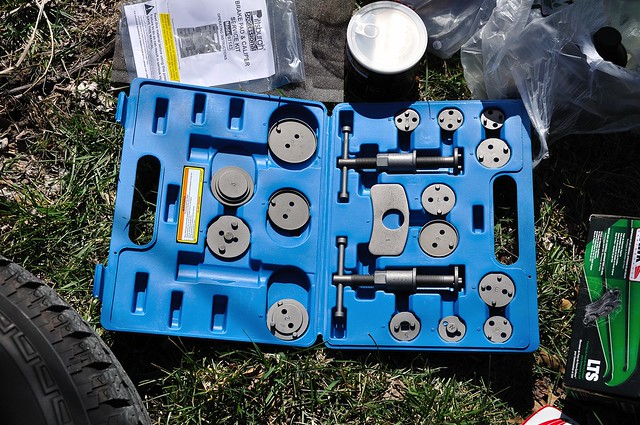
- Disc brake caliper service tool set (as seen here)
- Car jack
- Two jack stands
- Multi Purpose Respirator (Important! See here. Get a good one and not the paper type masks)
- Wire brush*
- One bungee cord*
- Torque wrench for lug nuts*
- Factory Service Manual for the vehicle you are working on*
*Optional, but a good to have
Consumables:
- Old rags or towels
- Rubber gloves
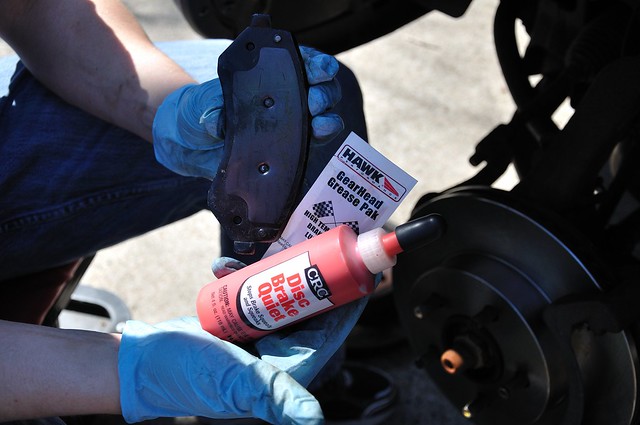
- Disc brake quiet (as seen here, or any major auto store)
- Penetrating Spray for stuck bolts like PB Blaster
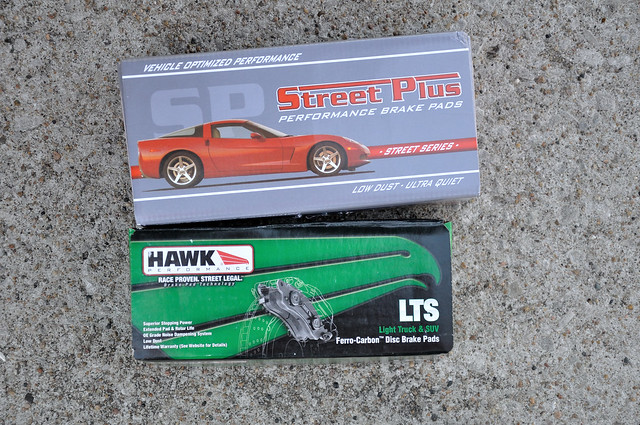
- New brake pads
- New rotors
To begin, loosen the lug nuts of the first wheel.
Raise your vehicle using a jack stand per the Service Manual’s recommendations of proper jack points and jack stand points. ALWAYS have at least 1 jack stand AND the jack in place when working on a vehicle.
Remove lug nuts and wheel.
Now is a good time to put on your Respirator Mask. This will protect you from inhaling any brake dust that can contain lead and/or asbestos.
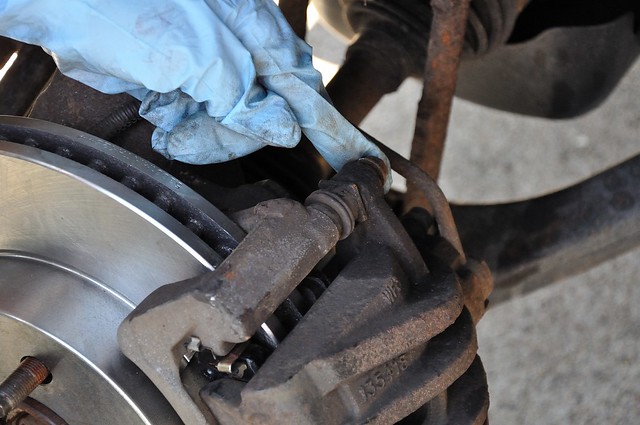
First, we need to remove the caliper. There are typically two bolts that hold the caliper on to the bracket. You can see Neil pointing to them in the picture below.
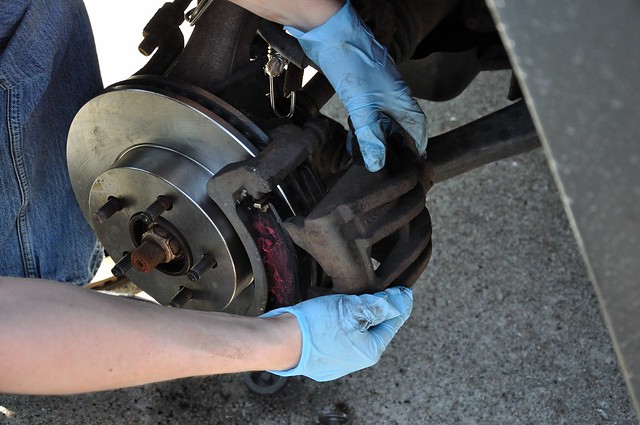
Remove these two bolts and slide the caliper off of the bracket. This may take some finesse and a couple well-placed whacks with the rubber mallet, but the caliper will eventually slide off.
Caliper sliding off!
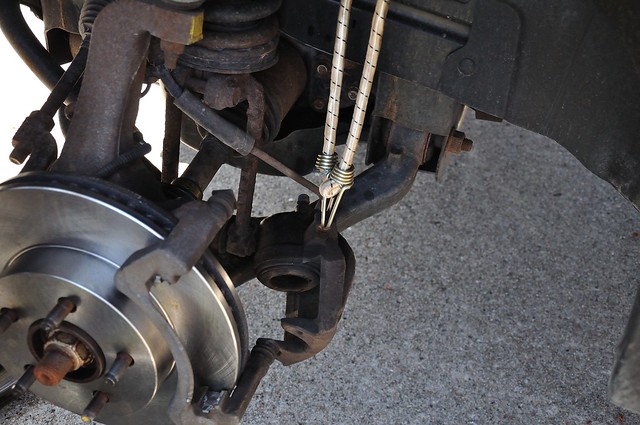
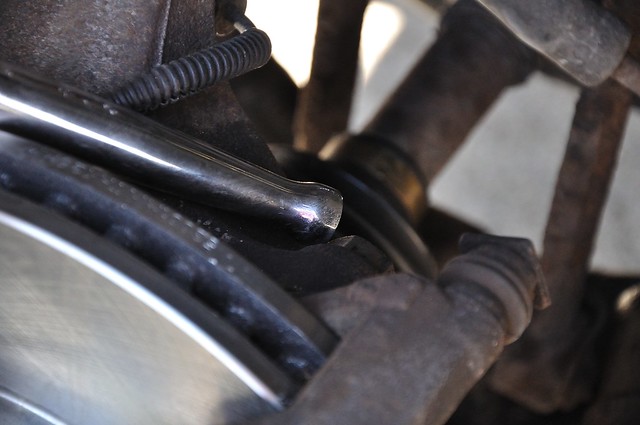
Use the bungee cord to hang the brake caliper so that it is not hanging by the brake line. Allowing it to hang is bad for the brake lines.
Remove the old brake pads from the caliper bracket and set aside.
Next, to remove the rotor, you must remove the caliper bracket. These are typically held on with two larger bolts you can see me pointing at below.
These bolts can often be tough to remove so use your penetrating spray and let it work for a few minutes before attempting. Your breaker bar can also come in handy at this point to get more leverage. Neil also finds that tapping on the bar with the mallet helps getting stuck bolts loose.
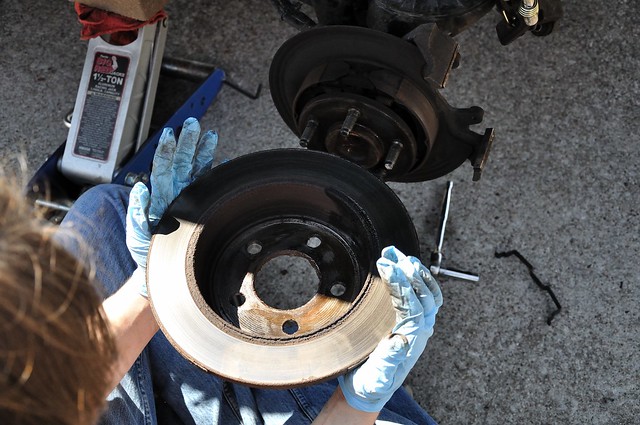
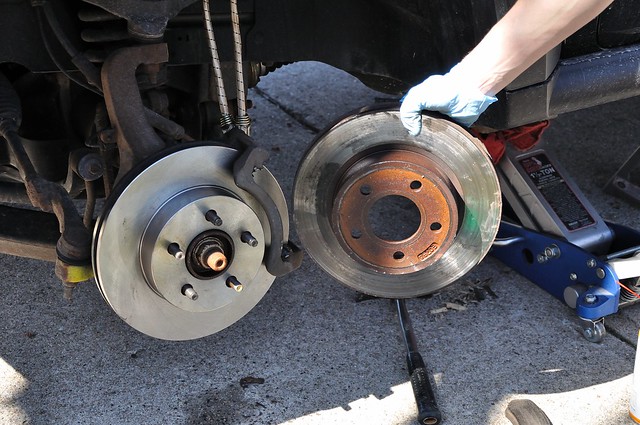
Once the bracket is removed in most cases the rotor will slide off the wheel studs. Some rotors have a single screw that holds them onto the wheel hub so check this just in case. If your rotor happens to be stuck, spray it with some penetrating spray and try hitting it with the rubber mallet at the 12, 6, 9 and 3 o’clock positions. Sometimes rotors can be quite stubborn.
Clean up the hub surface with your wire brush and slide the new rotor on.
Next, bolt the caliper bracket back on and torque the bolts to recommendations (in factory service manual)
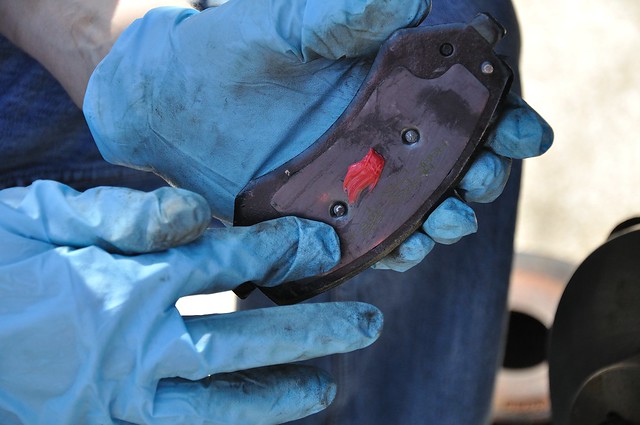
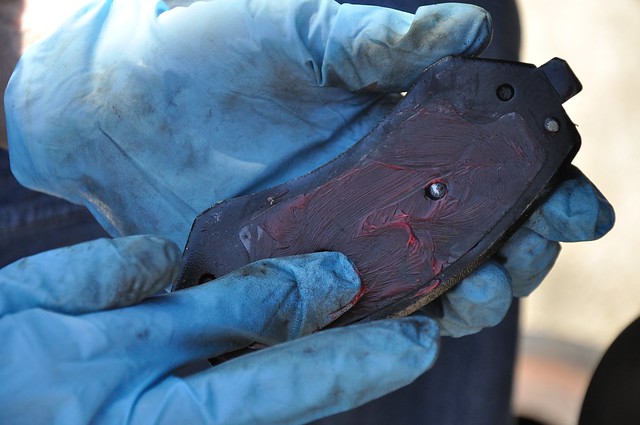
Before you install the new brake pads you need to apply the disc brake quiet grease to the back of the pads. Use as much as you need to get a good coat on them.
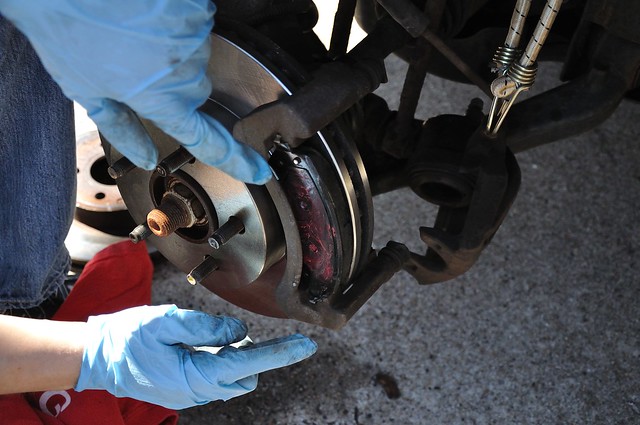
Slide the pads into the caliper bracket, or caliper depending on your vehicle’s configuration.
This is where your caliper tool comes in handy. When you press your brake pedal, a piston on the caliper pushes out and squeezes the pads against the rotor. This friction enables you to stop.
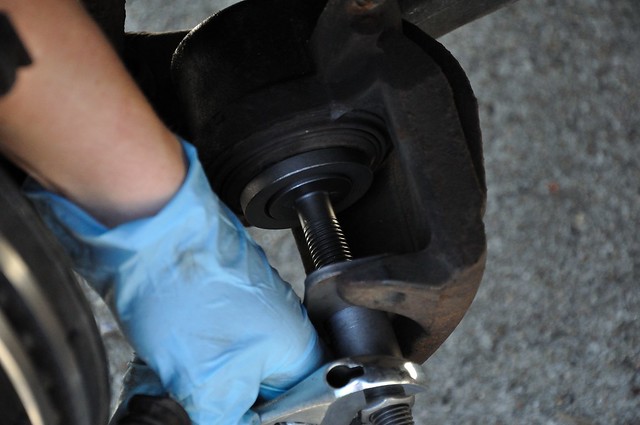
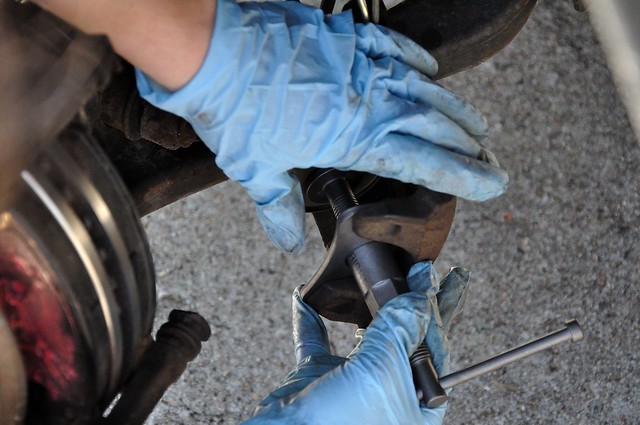
Through use, the brake pads are worn down and the piston is uncompressed further to make up the difference. You will find that you cannot slide your caliper back onto the bracket because the new pads are thicker than the old ones. You will need to use the caliper tool to press or twist the piston back into the caliper.
The caliper tool should come with directions, however it is a pretty easy process. Find the correct adapter for your caliper and use the spreader to push or twist the piston back into the caliper. We shot a few pictures of the process below:
Eventually you will push the piston back enough to slide the caliper back onto the rotor and bracket. Once that is done put the bolts back in to hold the caliper on and tighten to recommended spec per the Service Manual.
Slide the wheel back on the wheel studs and tighten down the lug nuts by hand as well as you can before removing the jack stand and lowering the car down onto the ground.
Torque the lug nuts to between 80 and 90 foot pounds using your torque wrench.
Congratulations, have a beer! One out of four wheels is done! Thankfully, the process to change rear brakes is similar to the front.
When you are finished with all four wheels you will need to take the vehicle out for a spin to “bed in” the brakes. Bedding in brake pads and rotors properly mates the new brake pads to the new rotors and ensures even wear occurs for the life of the brakes. This is a pretty important process, and not one to take lightly.
Here is what HAWK recommends:
After installing new pads make 6 to 10 stops from approximately 35 mph with moderate pressure. Make an additional two to three hard stops from approximately 40 to 45 mph. Do not allow the vehicle to come to a complete stop.When completed with this process, park the vehicle and allow the brakes to cool completely before driving on them again. Do not engage the parking brake until after this cooling process is compete.
It feels good to have a skill that enables us to be self-sufficient and save a couple hundred dollars every time brake maintenance rolls around.
Have you ever learned a new skill or undertaken a project on your own to save money?
You may also like




I had Neil’s helping doing this exact thing a couple summers ago and its easy! You may think that hey, I’m not sure I want to do this myself, but its really worth it considering how much money you save
I will make one suggestion that Neil and I learned the hard way. There is a good chance that if you are doing the of the first time, you will need to make a trip back to the Parts Shop. Make sure you have another vehicle available so when you realize that you have to go back to the Parts Shop you can make the quick run. If you don’t you will have to put everything back together on the vehicle you are replacing the brakes on, so you can drive there. Sounds obvious, but also easy to forget!
Great article! Agree on Blake’s input as it’s always helpful to have an alternative measure to get to the store in case you strip/forget or are missing something.
Another tip is to buy some anti-seize lube and apply a light coat around the rotor set screw and the caliper bolts. This simply ensures that they don’t seize in place. All torque specs are still necessary as this does not act as a loctite solution.
A final tip. If you are looking for rotors that will last, check out our black zinc/e-coated rotors. These will stay rust-free much longer and don’t deteriorate like the non-coated rotors.
If that sounds interesting to you, check out our pretty rotors here 🙂
http://brakeperformance.com/brake-rotors/brake-rotors.php
Can you tell me how you remove the rear Brake Rotors on a 2009 Jeep Wrangler. They have one access hole to turn the star wheel adjuster. Which way do you turn the star wheel to relaese rotor from parking brake shoes.?
Hi George,
Here are a couple good threads on this subject, and great forums that could probably help you better than I on your 2009 Jeep.
http://www.wranglerforum.com/f210/rear-brake-help-asap-70390.html
http://www.jkowners.com/forum/showthread.php?t=78916